> ## Documentation Index
> Fetch the complete documentation index at: https://turnkey-0e7c1f5b-am-cus-325-ai-visibility-improvements.mintlify.site/llms.txt
> Use this file to discover all available pages before exploring further.
> ## Agent Instructions
> Turnkey is wallet infrastructure: create and manage crypto wallets, sign transactions, and enforce policy-based access controls. Best-fit uses: embedded consumer wallets (email/passkey/social auth, no seed phrases), automated onchain operations with server-side wallets, AI agent wallets with policy-scoped signing, enterprise key management, and verifiable off-chain workloads on Turnkey Verifiable Cloud (TVC).
> Every API call is a JSON POST to https://api.turnkey.com signed with a P-256 API key; create an organization and key self-serve at https://app.turnkey.com.
> Key Turnkey developer resources: API reference (https://docs.turnkey.com/api-reference/overview/intro.md), OpenAPI spec (https://docs.turnkey.com/public_api.swagger.json), authentication (https://docs.turnkey.com/features/authentication/overview.md), webhooks (https://docs.turnkey.com/features/webhooks/overview.md), MCP server for docs search (https://docs.turnkey.com/mcp), agent skills (https://docs.turnkey.com/get-started/ai-skills.md), CLI (https://docs.turnkey.com/sdks/cli.md), SDK reference (https://docs.turnkey.com/sdks/introduction.md), full docs content (https://docs.turnkey.com/llms-full.txt).
# Policy quickstart
> This guide will help you add an additional user to your Turnkey organization and set permissions for that user through Policies. Specifically, we will create an API-only user with permissions to sign transactions to an allowlisted address.
This assumes that you previously completed the [Sign a transaction](/get-started/quickstart) guide, and thus have already set up:
* Your Turnkey organization
* An API key for the Root User
* A Wallet with an Ethereum account
## Create your new users
New users in your Turnkey organization can be created by navigating to the "Users" tab and clicking "Add User".
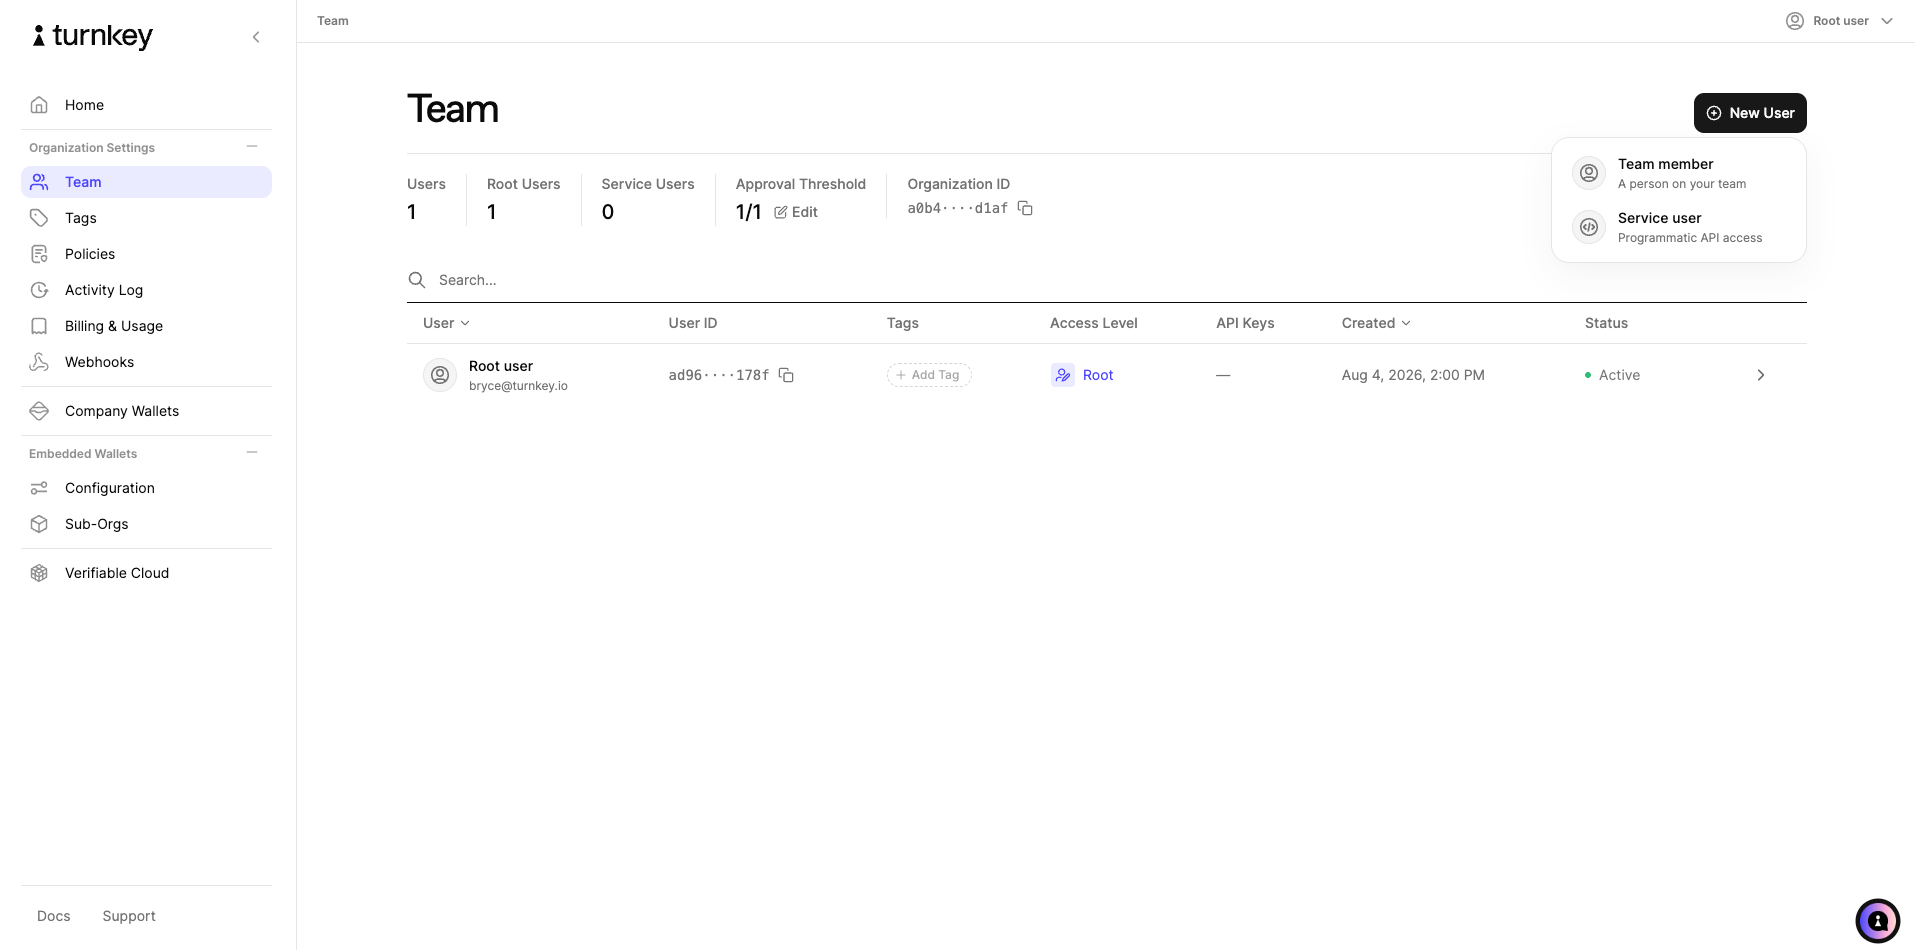 In the create user flow, you have the option to grant API key or web access to your new user. For this example, we're going to create an API-only user.
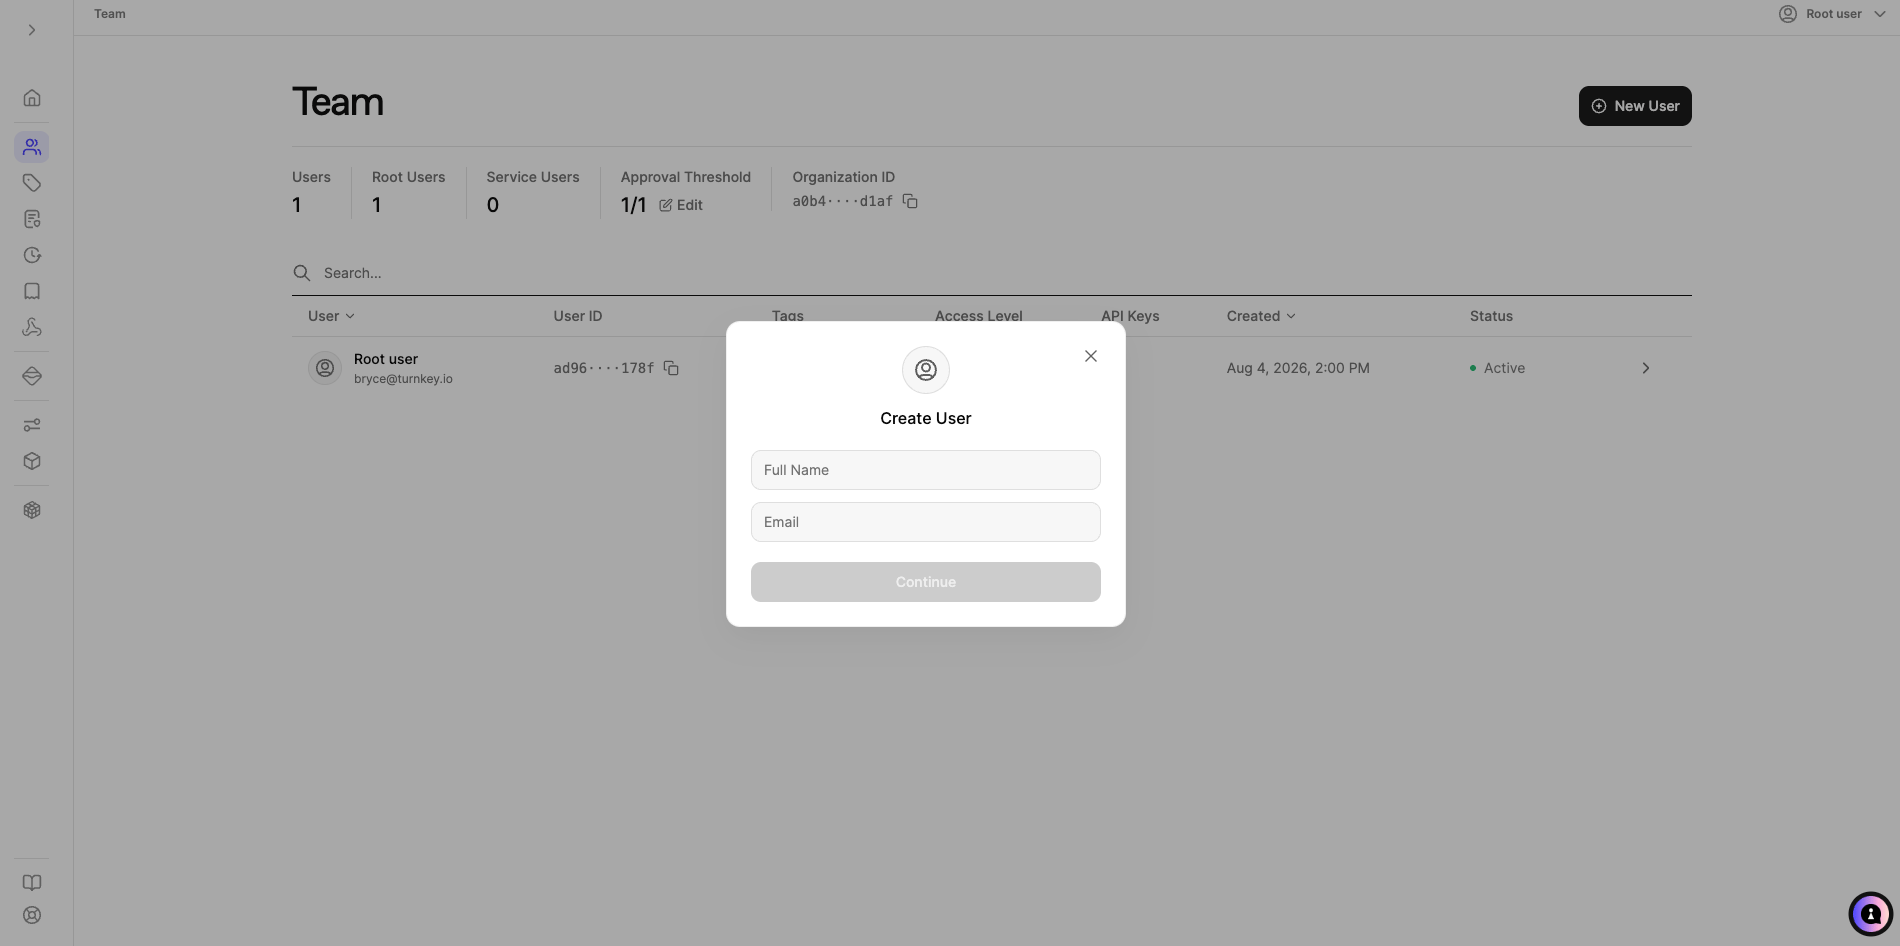
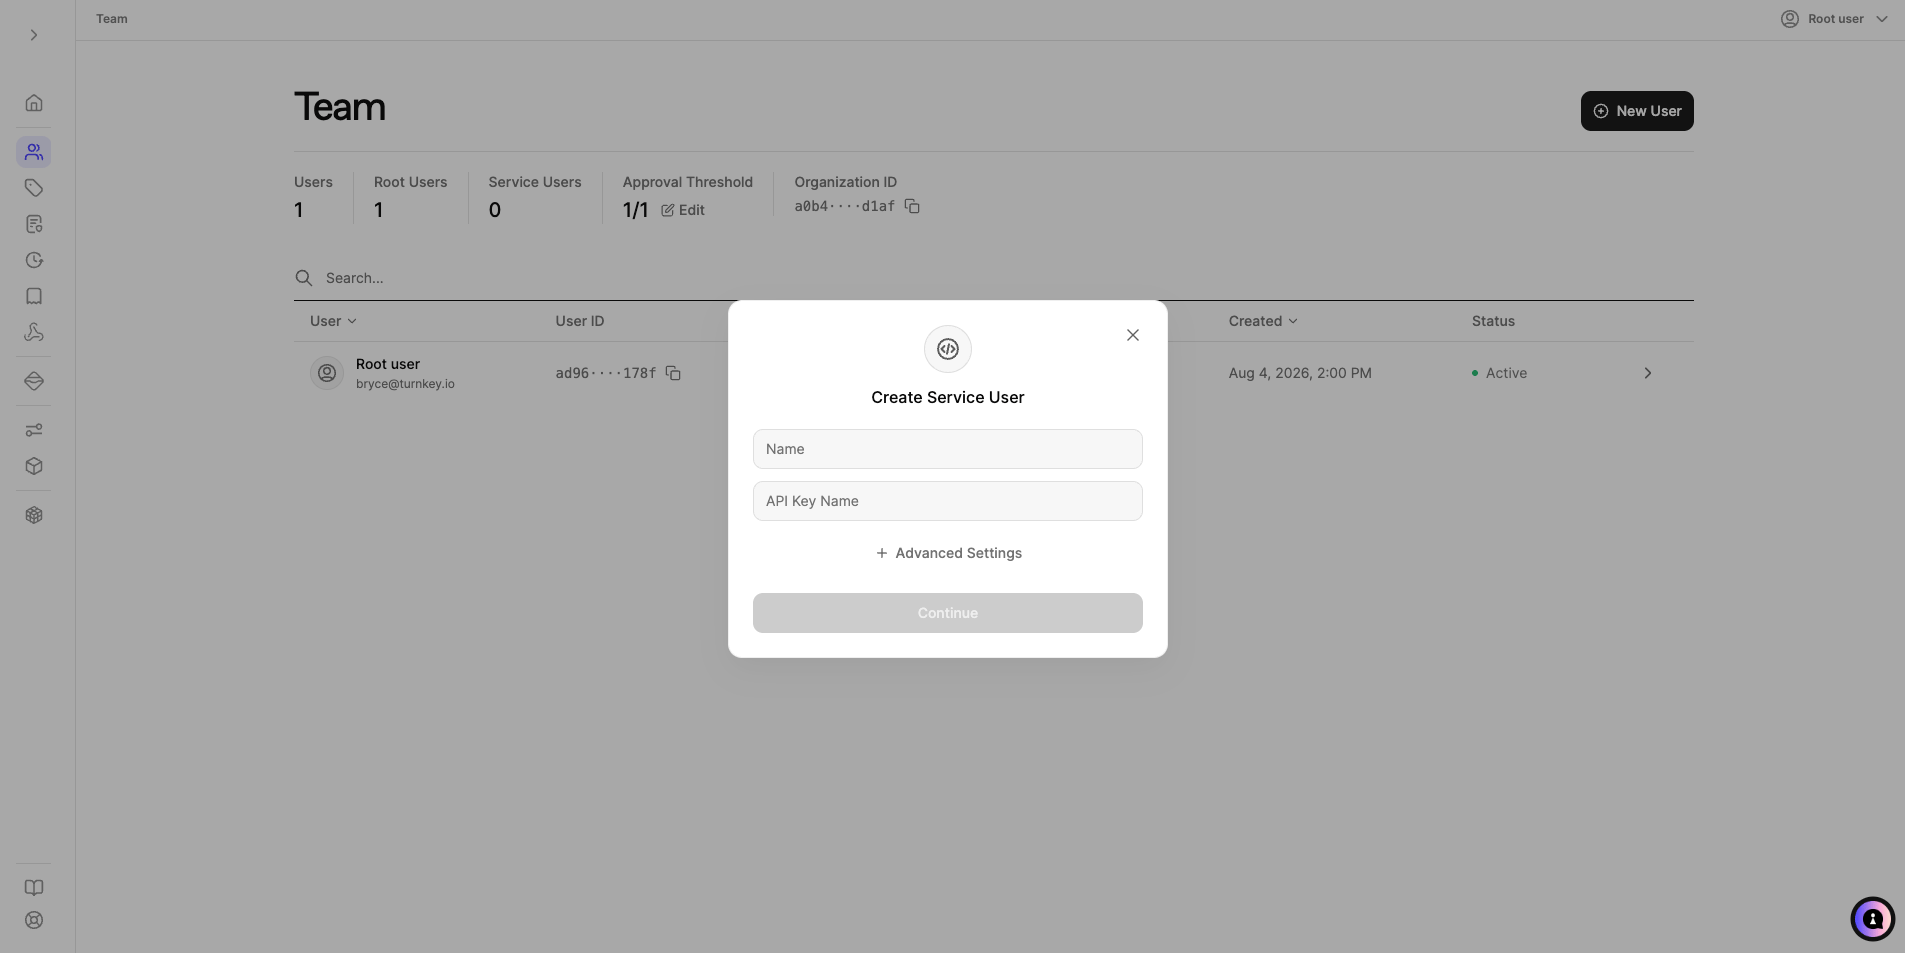 Under the Team page, click "New User" then "Service User". Enter the Name and API Key Name (e.g., "Policy Test"). This will be an API-only user, and therefore an email is not required.
To generate an API key via CLI, select "Advanced Settings". Create a new API key to associate with the user using the following command:
```bash theme={"system"}
turnkey generate api-key --organization $ORGANIZATION_ID --key-name policy_test
```
This will create 2 files, "policy\_test.public" and "policy\_test.private". Copy the contents of the ".public" file and paste it into "API Public Key". Finish the create user flow and authenticate. Your new user will appear in the Users table. Note down the user ID as you will use it in the next step.
## Create policies for your new users.
Next we will create a policy to grant permissions to the new user. Navigate to the "Policies" tab and click on "Add new policy".
Under the Team page, click "New User" then "Service User". Enter the Name and API Key Name (e.g., "Policy Test"). This will be an API-only user, and therefore an email is not required.
To generate an API key via CLI, select "Advanced Settings". Create a new API key to associate with the user using the following command:
```bash theme={"system"}
turnkey generate api-key --organization $ORGANIZATION_ID --key-name policy_test
```
This will create 2 files, "policy\_test.public" and "policy\_test.private". Copy the contents of the ".public" file and paste it into "API Public Key". Finish the create user flow and authenticate. Your new user will appear in the Users table. Note down the user ID as you will use it in the next step.
## Create policies for your new users.
Next we will create a policy to grant permissions to the new user. Navigate to the "Policies" tab and click on "Add new policy".
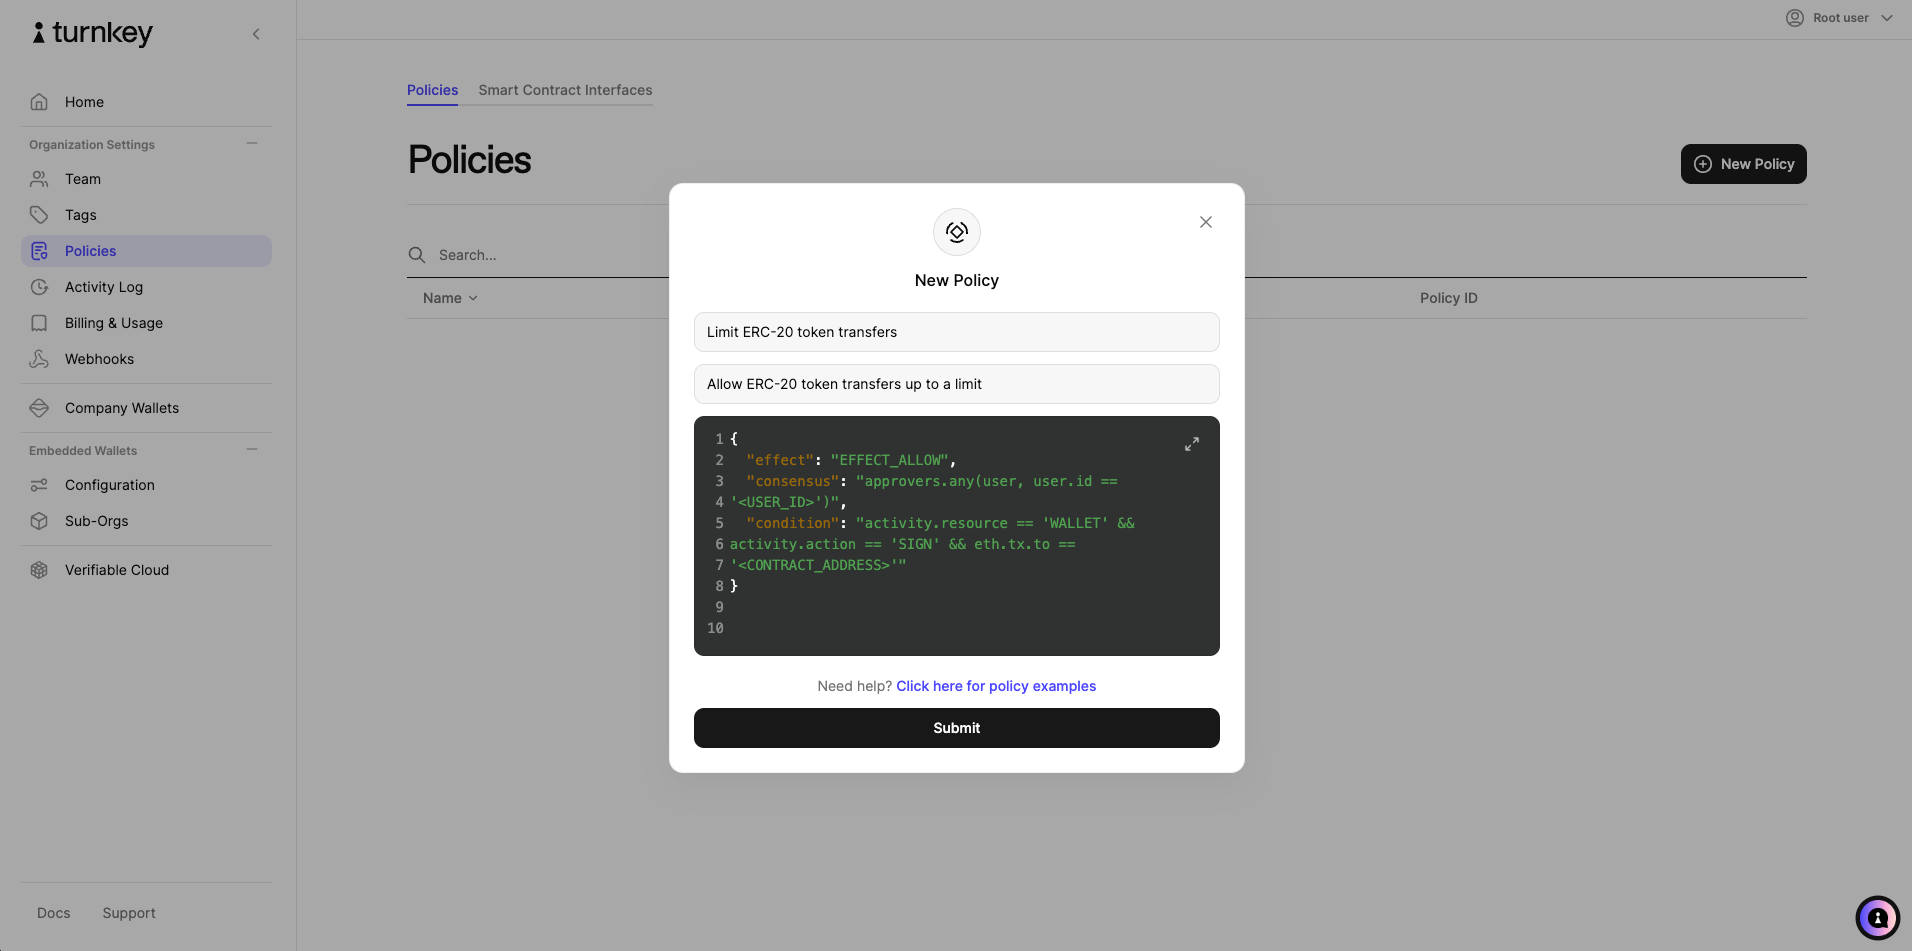 Choose a name and note to describe your new policy. Next, enter the following policy, making sure to replace `` with an Ethereum address of your choosing and `` with the user ID of your recently created API user.
```json theme={"system"}
{
"effect": "EFFECT_ALLOW",
"consensus": "approvers.any(user, user.id == '')",
"condition": "eth.tx.to == ''"
}
```
## Test your policies
Generate sample transactions using our [transaction tool](https://build.tx.xyz). **You'll want to create two transactions**: one transaction to the address you selected in your whitelist policy above, and one to any other address.
Next, try signing these two different transactions by replacing `` in the code snippet below. As a reminder, this guide assumes you've completed the [Quickstart](/get-started/quickstart) guide, and have set `$ORGANIZATION_ID` as an environment variable.
```json theme={"system"}
turnkey request --path /public/v1/submit/sign_transaction --body '{
"timestampMs": "'"$(date +%s)"'000",
"type": "ACTIVITY_TYPE_SIGN_TRANSACTION_V2",
"organizationId": "'"$ORGANIZATION_ID"'",
"parameters": {
"signWith": "",
"type": "TRANSACTION_TYPE_ETHEREUM",
"unsignedTransaction": ""
}
}' --key-name policy_test
```
You'll see that the activity to allowlisted address comes back as `COMPLETED`, while the activity to the non-allowlisted address comes back as `FAILED`. You've successfully set your first policy!
## Extra credit
* Try out some of our [policy examples](/features/policies/examples/ethereum)
* Check out the [policy overview](/features/policies/overview)
* Learn how to author policies with our [policy language](/features/policies/overview)
Choose a name and note to describe your new policy. Next, enter the following policy, making sure to replace `` with an Ethereum address of your choosing and `` with the user ID of your recently created API user.
```json theme={"system"}
{
"effect": "EFFECT_ALLOW",
"consensus": "approvers.any(user, user.id == '')",
"condition": "eth.tx.to == ''"
}
```
## Test your policies
Generate sample transactions using our [transaction tool](https://build.tx.xyz). **You'll want to create two transactions**: one transaction to the address you selected in your whitelist policy above, and one to any other address.
Next, try signing these two different transactions by replacing `` in the code snippet below. As a reminder, this guide assumes you've completed the [Quickstart](/get-started/quickstart) guide, and have set `$ORGANIZATION_ID` as an environment variable.
```json theme={"system"}
turnkey request --path /public/v1/submit/sign_transaction --body '{
"timestampMs": "'"$(date +%s)"'000",
"type": "ACTIVITY_TYPE_SIGN_TRANSACTION_V2",
"organizationId": "'"$ORGANIZATION_ID"'",
"parameters": {
"signWith": "",
"type": "TRANSACTION_TYPE_ETHEREUM",
"unsignedTransaction": ""
}
}' --key-name policy_test
```
You'll see that the activity to allowlisted address comes back as `COMPLETED`, while the activity to the non-allowlisted address comes back as `FAILED`. You've successfully set your first policy!
## Extra credit
* Try out some of our [policy examples](/features/policies/examples/ethereum)
* Check out the [policy overview](/features/policies/overview)
* Learn how to author policies with our [policy language](/features/policies/overview)